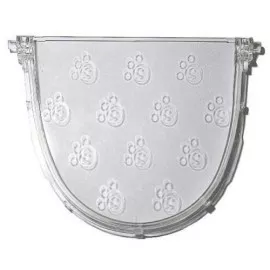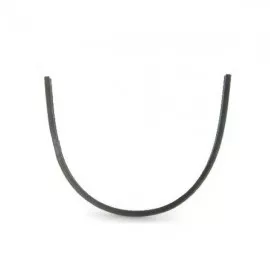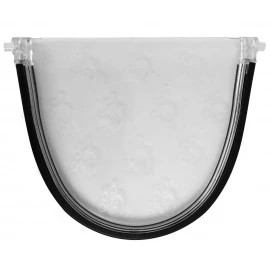
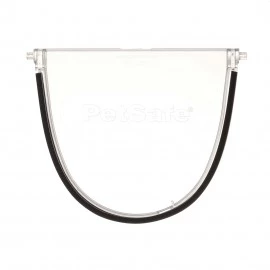
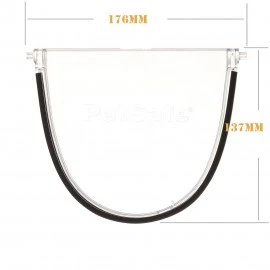
Petsafe Staywell Spare / 900 917 919 932 934 Replacement Flap
Product Description
PetSafe Staywell 900 Series Replacement Flap Installation Guide
This installation guide explains how to fit a PetSafe Staywell 900 Series Replacement Flap to compatible Staywell Classic cat flaps.
It is suitable for owners replacing a cracked, damaged or missing flap while keeping the existing cat flap frame in place.
Compatible Staywell Models
This replacement flap is designed to fit the following PetSafe Staywell Classic 900 Series cat flaps:
- Staywell 916
- Staywell 917
- Staywell 919
- Staywell 932
- Staywell 934
Please check the model number of your existing cat flap before starting. PetSafe and Staywell have produced several similar-looking cat flaps over the years, so confirming compatibility first is important.
Before You Start
Before removing the original flap, check that you have the correct replacement part and that the existing cat flap frame is still in good condition.
You Will Need
- The correct replacement flap
- Replacement magnet if supplied
- A small flat-blade screwdriver if required
- A clean cloth
Removing the Old Replacement Flap
- Open the existing cat flap.
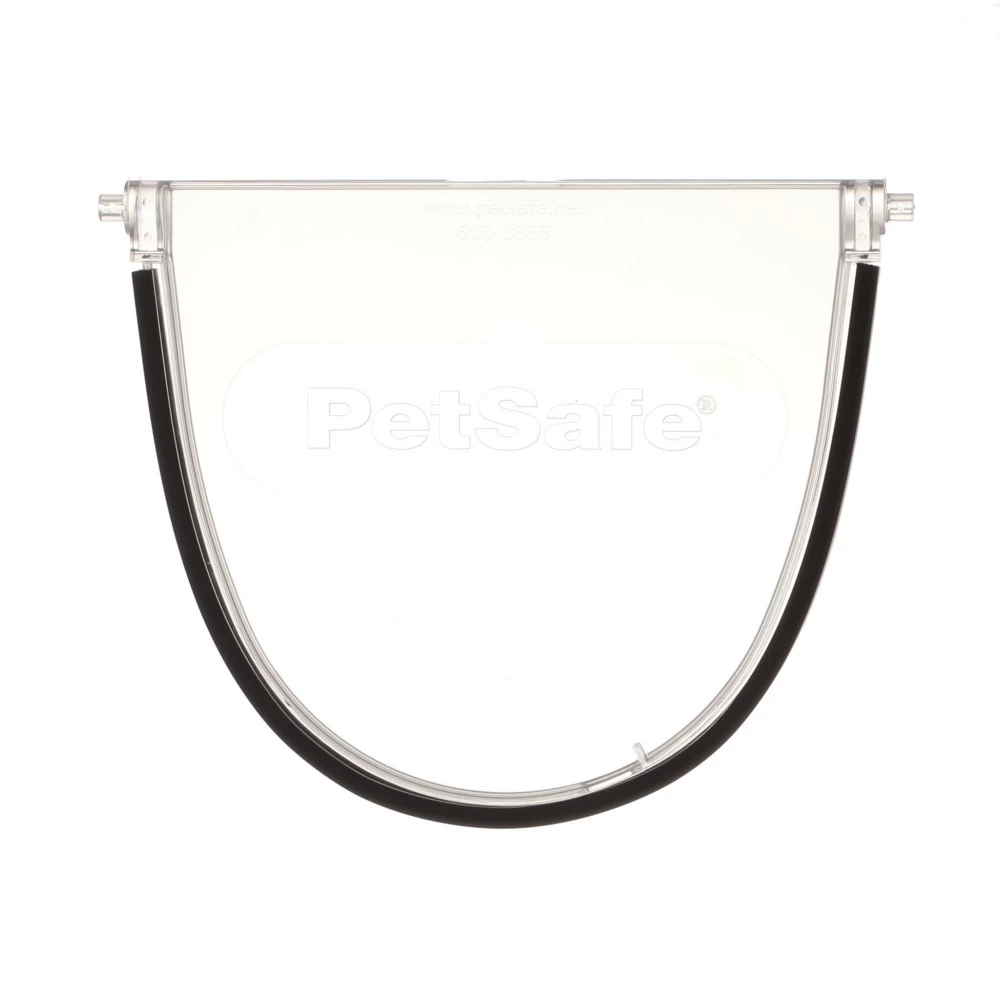
- Locate the pivot pins at the top corners of the flap.
- Carefully flex one side of the flap towards the centre until one pivot pin releases from the frame.
- Once one side is free, release the opposite pivot pin and remove the flap.
- Remove any loose or damaged magnet parts if required.
- Clean the inside of the frame and pivot areas before fitting the new flap.
Installing the New Staywell 900 Series Flap
- Check that the replacement magnet is positioned correctly in the bottom of the new flap if supplied with your version.
- Insert one of the upper pivot pins into the corresponding locating hole in the cat flap frame.
- Carefully flex the opposite side of the replacement flap towards the centre.
- Guide the second pivot pin into its locating hole.
- Release the flap slowly and make sure both pivot pins are fully seated.
- Move the flap backwards and forwards several times to confirm that it swings freely.
Final Checks
Before allowing your cat to use the flap, check the following:
- The replacement flap swings freely in both directions.
- Both upper pivot pins are correctly located.
- The flap sits squarely within the surrounding frame.
- The lower magnet aligns correctly when the flap closes.
- The flap returns towards its normal closed position.
- The manual locking mechanism still operates correctly where fitted.
If the Replacement Flap Does Not Move Freely
If the flap feels stiff or does not swing correctly after installation, do not force it.
Remove the replacement flap and check that both pivot pins are correctly seated in the frame. Also inspect the pivot holes for dirt, damage or debris that may be restricting movement.
Once everything is clean and correctly aligned, refit the flap and test it again.
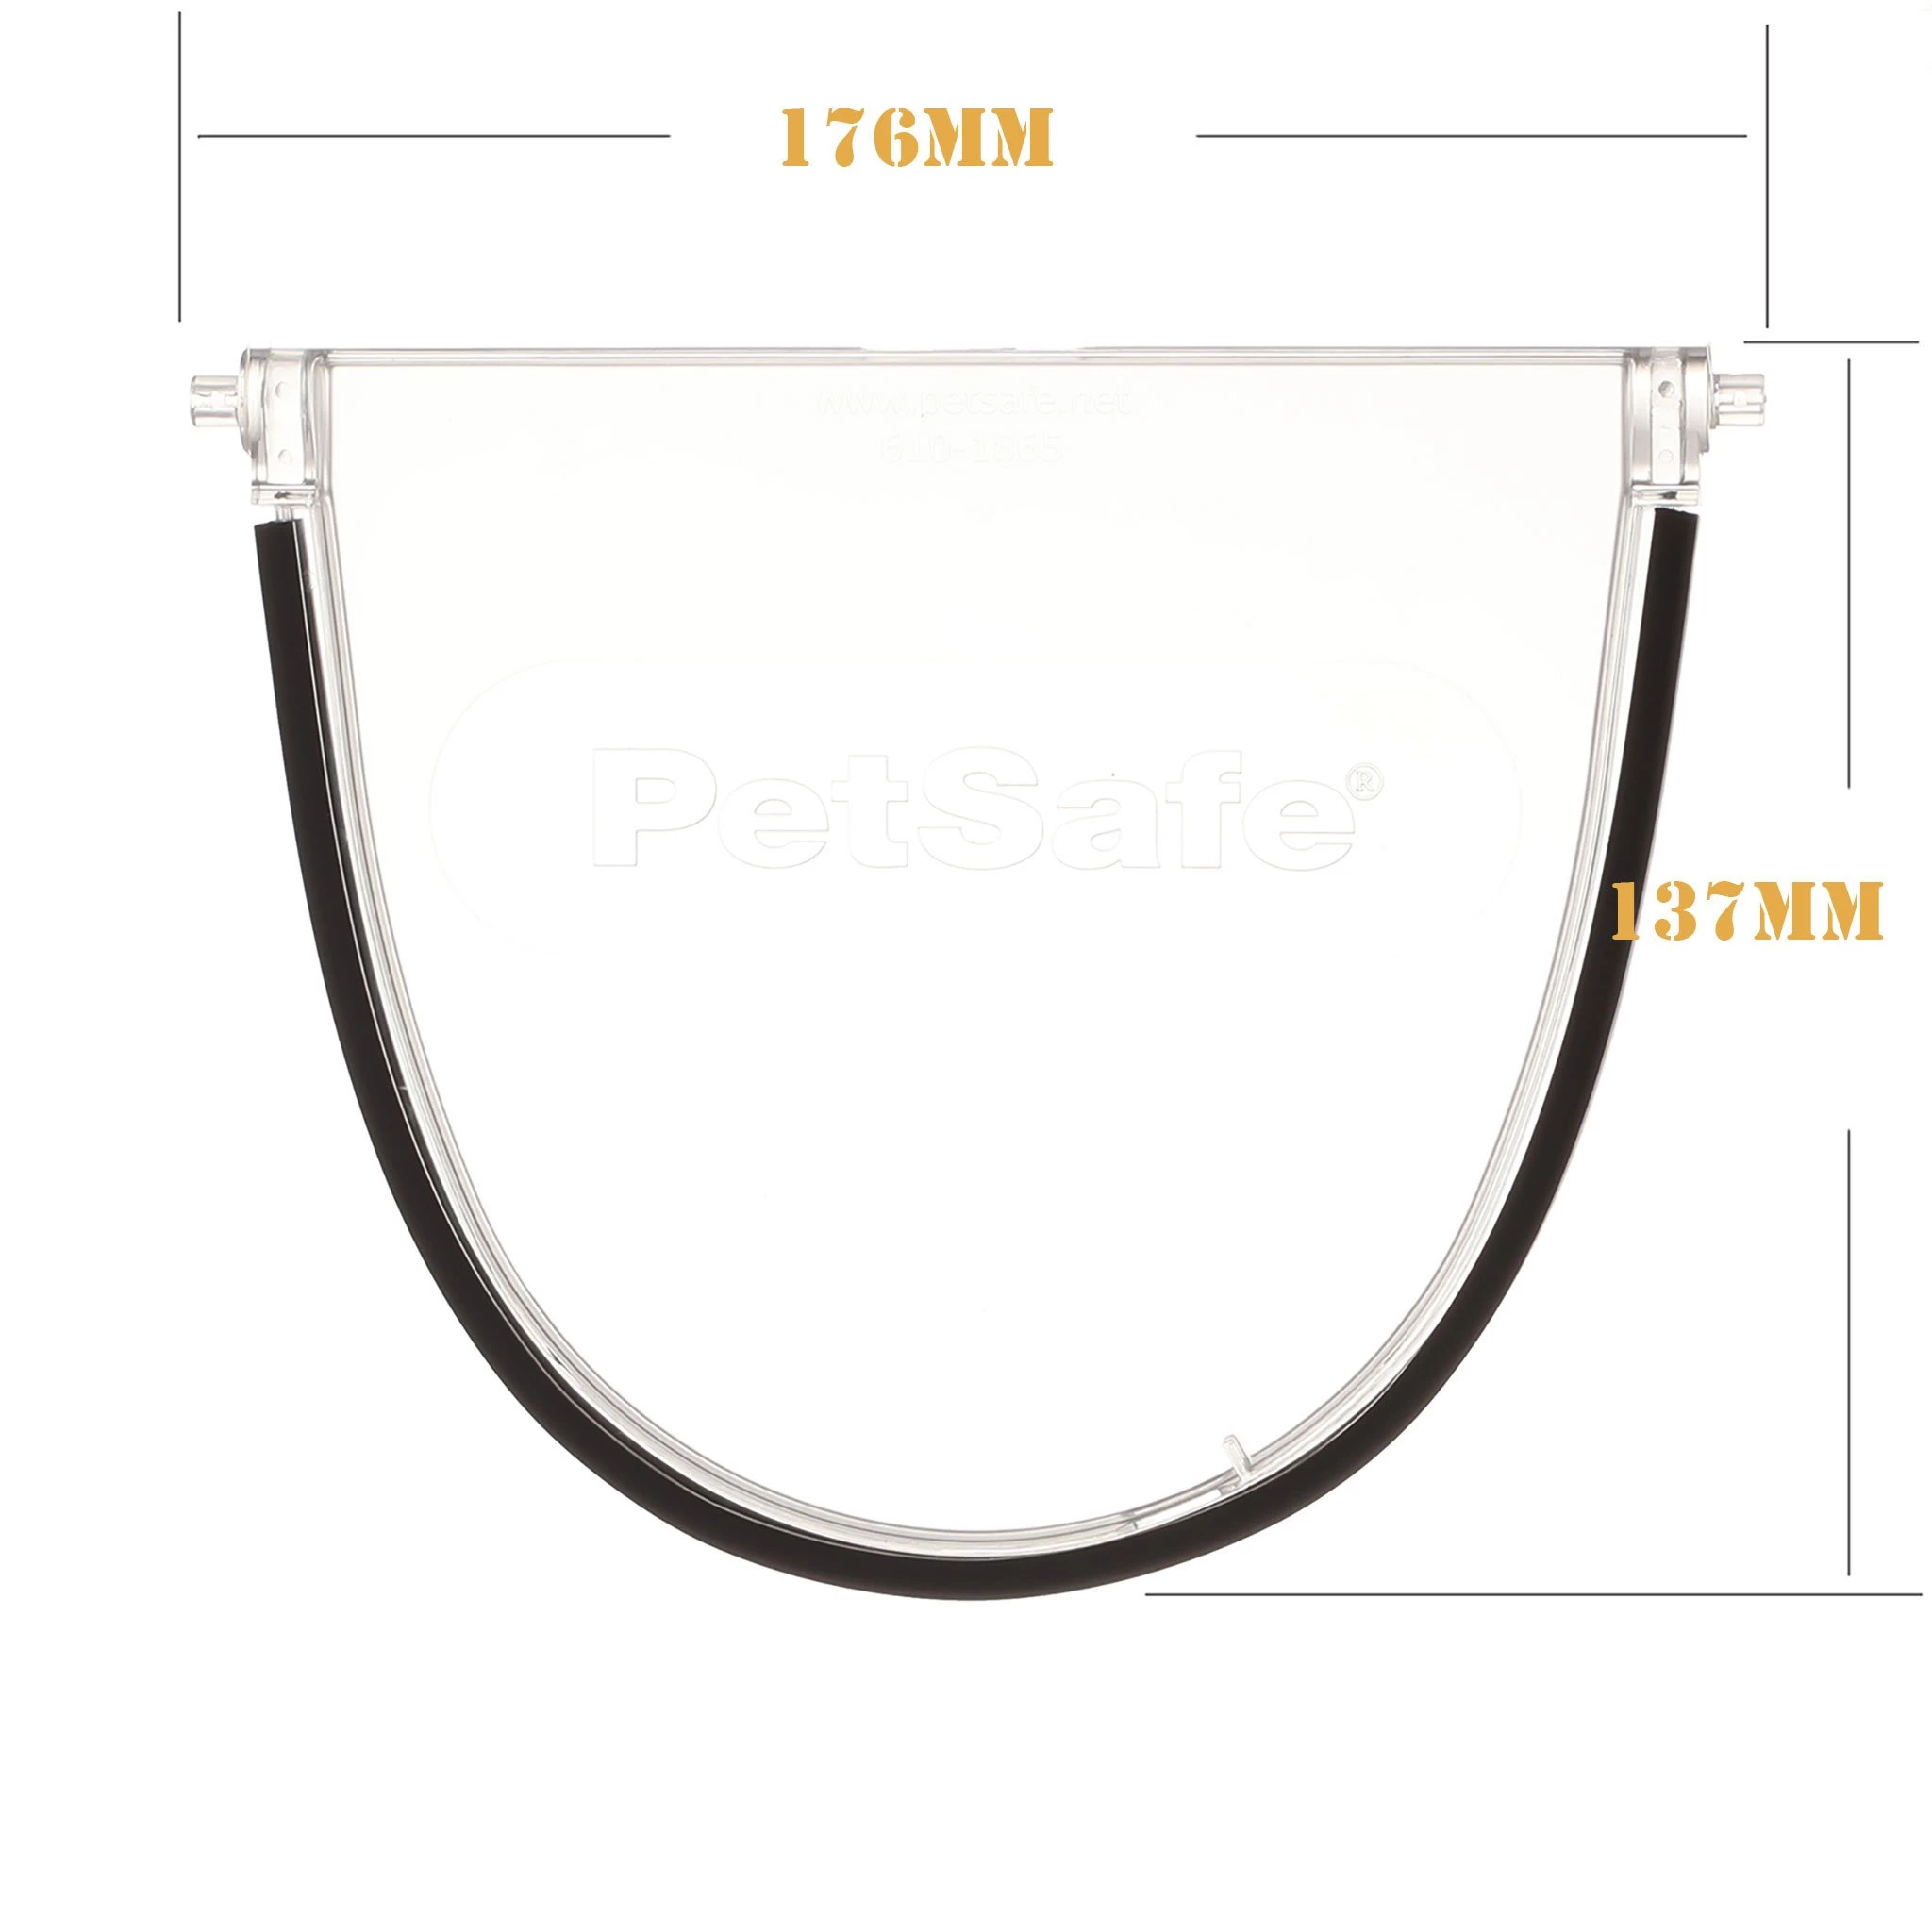
Replacement Flap Dimensions
Before ordering, compare your existing flap and cat flap model with the dimensions shown below.
Maintenance
Regular cleaning can help keep the replacement flap moving smoothly and looking its best.
- Clean the flap with warm water and a mild detergent.
- Avoid abrasive cleaners and solvents.
- Remove dirt and pet hair from the upper pivot points.
- Check the lower magnet periodically.
- Keep the surrounding frame clean.
Why Replace Only the Flap?
If the existing Staywell frame is still securely installed and working correctly, replacing just the damaged flap is often far easier than replacing the complete cat door.
A new replacement flap can:
- Repair a cracked or broken flap
- Replace a missing flap
- Restore clearer visibility through an older cat flap
- Restore smoother opening and closing
- Extend the useful life of the existing Staywell cat flap
- Avoid disturbing an existing door or wall installation
Frequently Asked Questions
Which Staywell models does this guide cover?
This guide covers compatible Staywell 916, 917, 919, 932 and 934 cat flaps.
Do I need to remove the complete cat flap from the door?
No. The replacement flap itself can normally be removed and refitted within the existing frame.
Should the replacement flap move freely?
Yes. Once correctly installed, the flap should swing smoothly in both directions without binding against the frame.
What should I do if the flap is stiff?
Remove it and check the pivot pins, locating holes and frame for dirt or incorrect alignment before refitting.
How do I know which Staywell model I have?
Look for a model number on the inside section of the existing cat flap frame. If the number has worn away, compare the flap dimensions and send CatFlaps.co.uk a photograph if you need help identifying it.
Need Help Identifying Your Staywell Cat Flap?
Older Staywell cat flaps can be difficult to identify because several models look very similar.
If you're unsure which replacement flap you need, contact CatFlaps.co.uk with clear photographs of the inside and outside of your cat flap together with any visible model numbers or measurements. We'll be happy to help identify the correct replacement part where possible.
When you order from catflaps.com, you will receive a confirmation email. Once your order is shipped, you will be emailed the tracking information for your order's shipment. You can choose your preferred shipping method on the Order Information page during the checkout process.
The total time it takes to receive your order is shown below:

The total delivery time is calculated from the time your order is placed until the time it is delivered to you. Total delivery time is broken down into processing time and shipping time.
Processing time: The time it takes to prepare your item(s) to ship from our warehouse. This includes preparing your items, performing quality checks, and packing for shipment.
Shipping time: The time for your item(s) to travel from our warehouse to your destination.
Shipping from your local warehouse is significantly faster. Some charges may apply.
In addition, the transit time depends on where you're located and where your package comes from. If you want to know more information, please contact the customer service. We will settle your problem as soon as possible. Enjoy shopping!